Low back pain is fraught in our society with up to 80% of adults experiencing it at some point in their lives. Fortunately, most pain tends to subside without intervention within a few weeks. This is not to say that there aren’t more insidious causes of low back pain including but not limited to disc herniations and fractures, however those won’t be discussed here. It is also why, if the assessments within this 3 Part article don’t provide any insight into the cause of your pain, it’s worth seeking out a qualified health professional to help you do so (and no, your GP is not where you should be going to first in most cases – but that’s a whole separate issue for another article).
With the majority of low back pain I see, pain has lingered for some time without resolution. This nondescript dull ache in the Lumbar region is often due to mobility or stability restrictions stemming from areas either above and/or below the site of pain (the lower back itself).
This is where assessing areas that lend to the CAUSE of general low back pain, tightness and overuse as opposed to the SYMPTOM come in, as you will be well aware from this previous article (“Low Back Pain – The Cause or The Symptom?”).
Before we delve into Part 2, it’d be wise to read up on Part 1 first (logically) of this 3 Part Series which you do HERE.
However, if you are going to skip over it – here’s the recap of Part 1:
-
Thoracic Mobility is the 1st area we assessed and covered in Part 1
-
The 2 elements that impact Thoracic Mobility and when restricted, can impact the Lumbar spine and cause low back pain are:
1. Thoracic Extension
2. Thoracic Rotation
-
-
Ankle Mobility is the 3rd assessment that will be covered in Part 3, however I already have a pretty in depth article on ankles affecting lower back pain already available HERE.
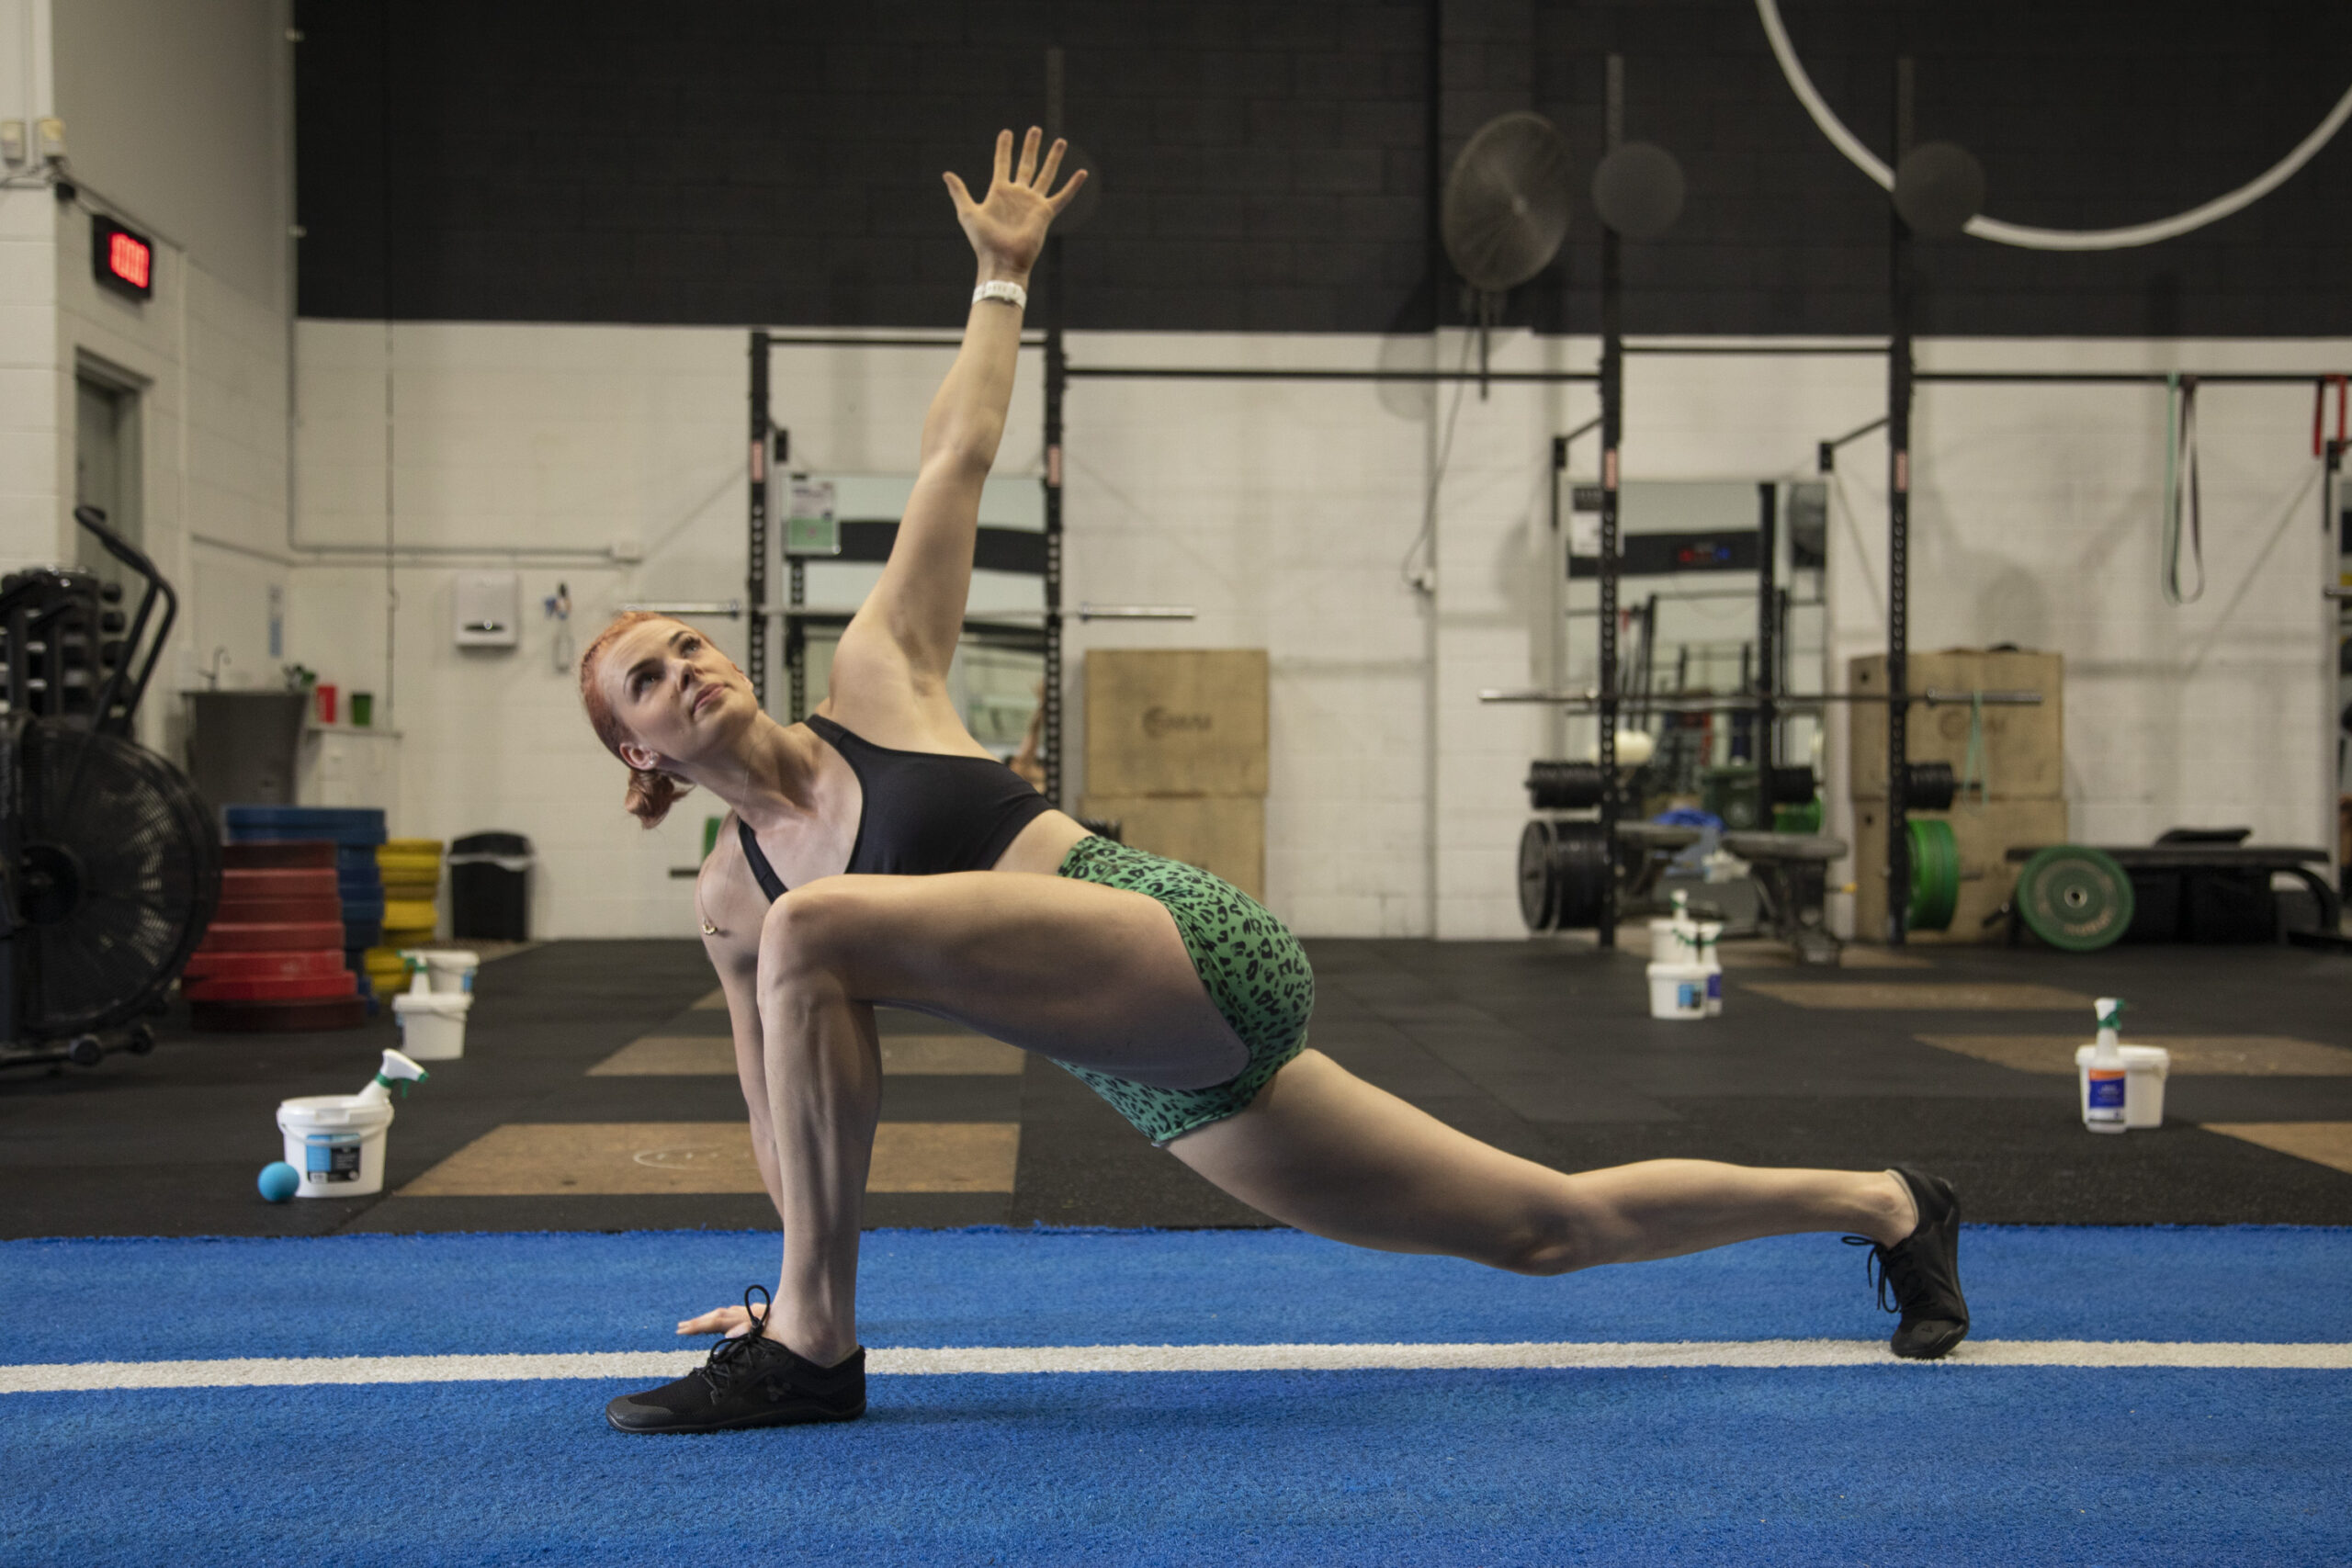
Part 2: Hip Stability
Navigating stability can be tricky, particularly when it comes to assessments. While stability is characteristically a subjective measure, we need to be able to somewhat objectively identify instability. Note that with any stability measure, there should always be elements of objective (quantitative) and subjective (qualitative) data available. Both need to be considered.
The true test of stability comes from increases in strength and not necessarily improvements in the stability exercise itself. Performing a pistol squat while standing on a swiss ball and simultaneously pressing a kettlebell overhead (or any other circus like tricks) are only as beneficial as their ability to carry over into foundational strength movements.
You can only be as strong as your base of support is stable and stability will always precede strength. Thus without adequate stability, strength will always be compromised.
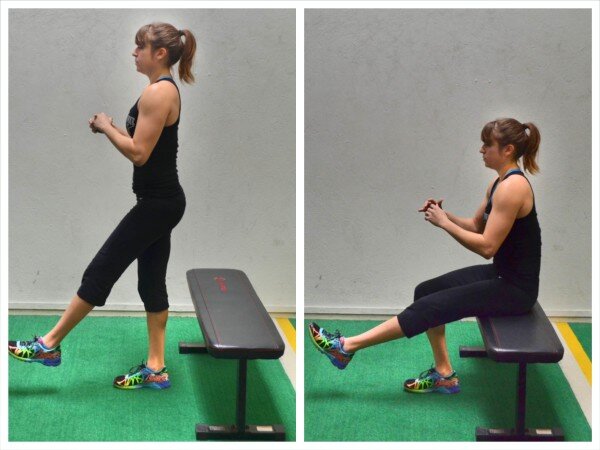
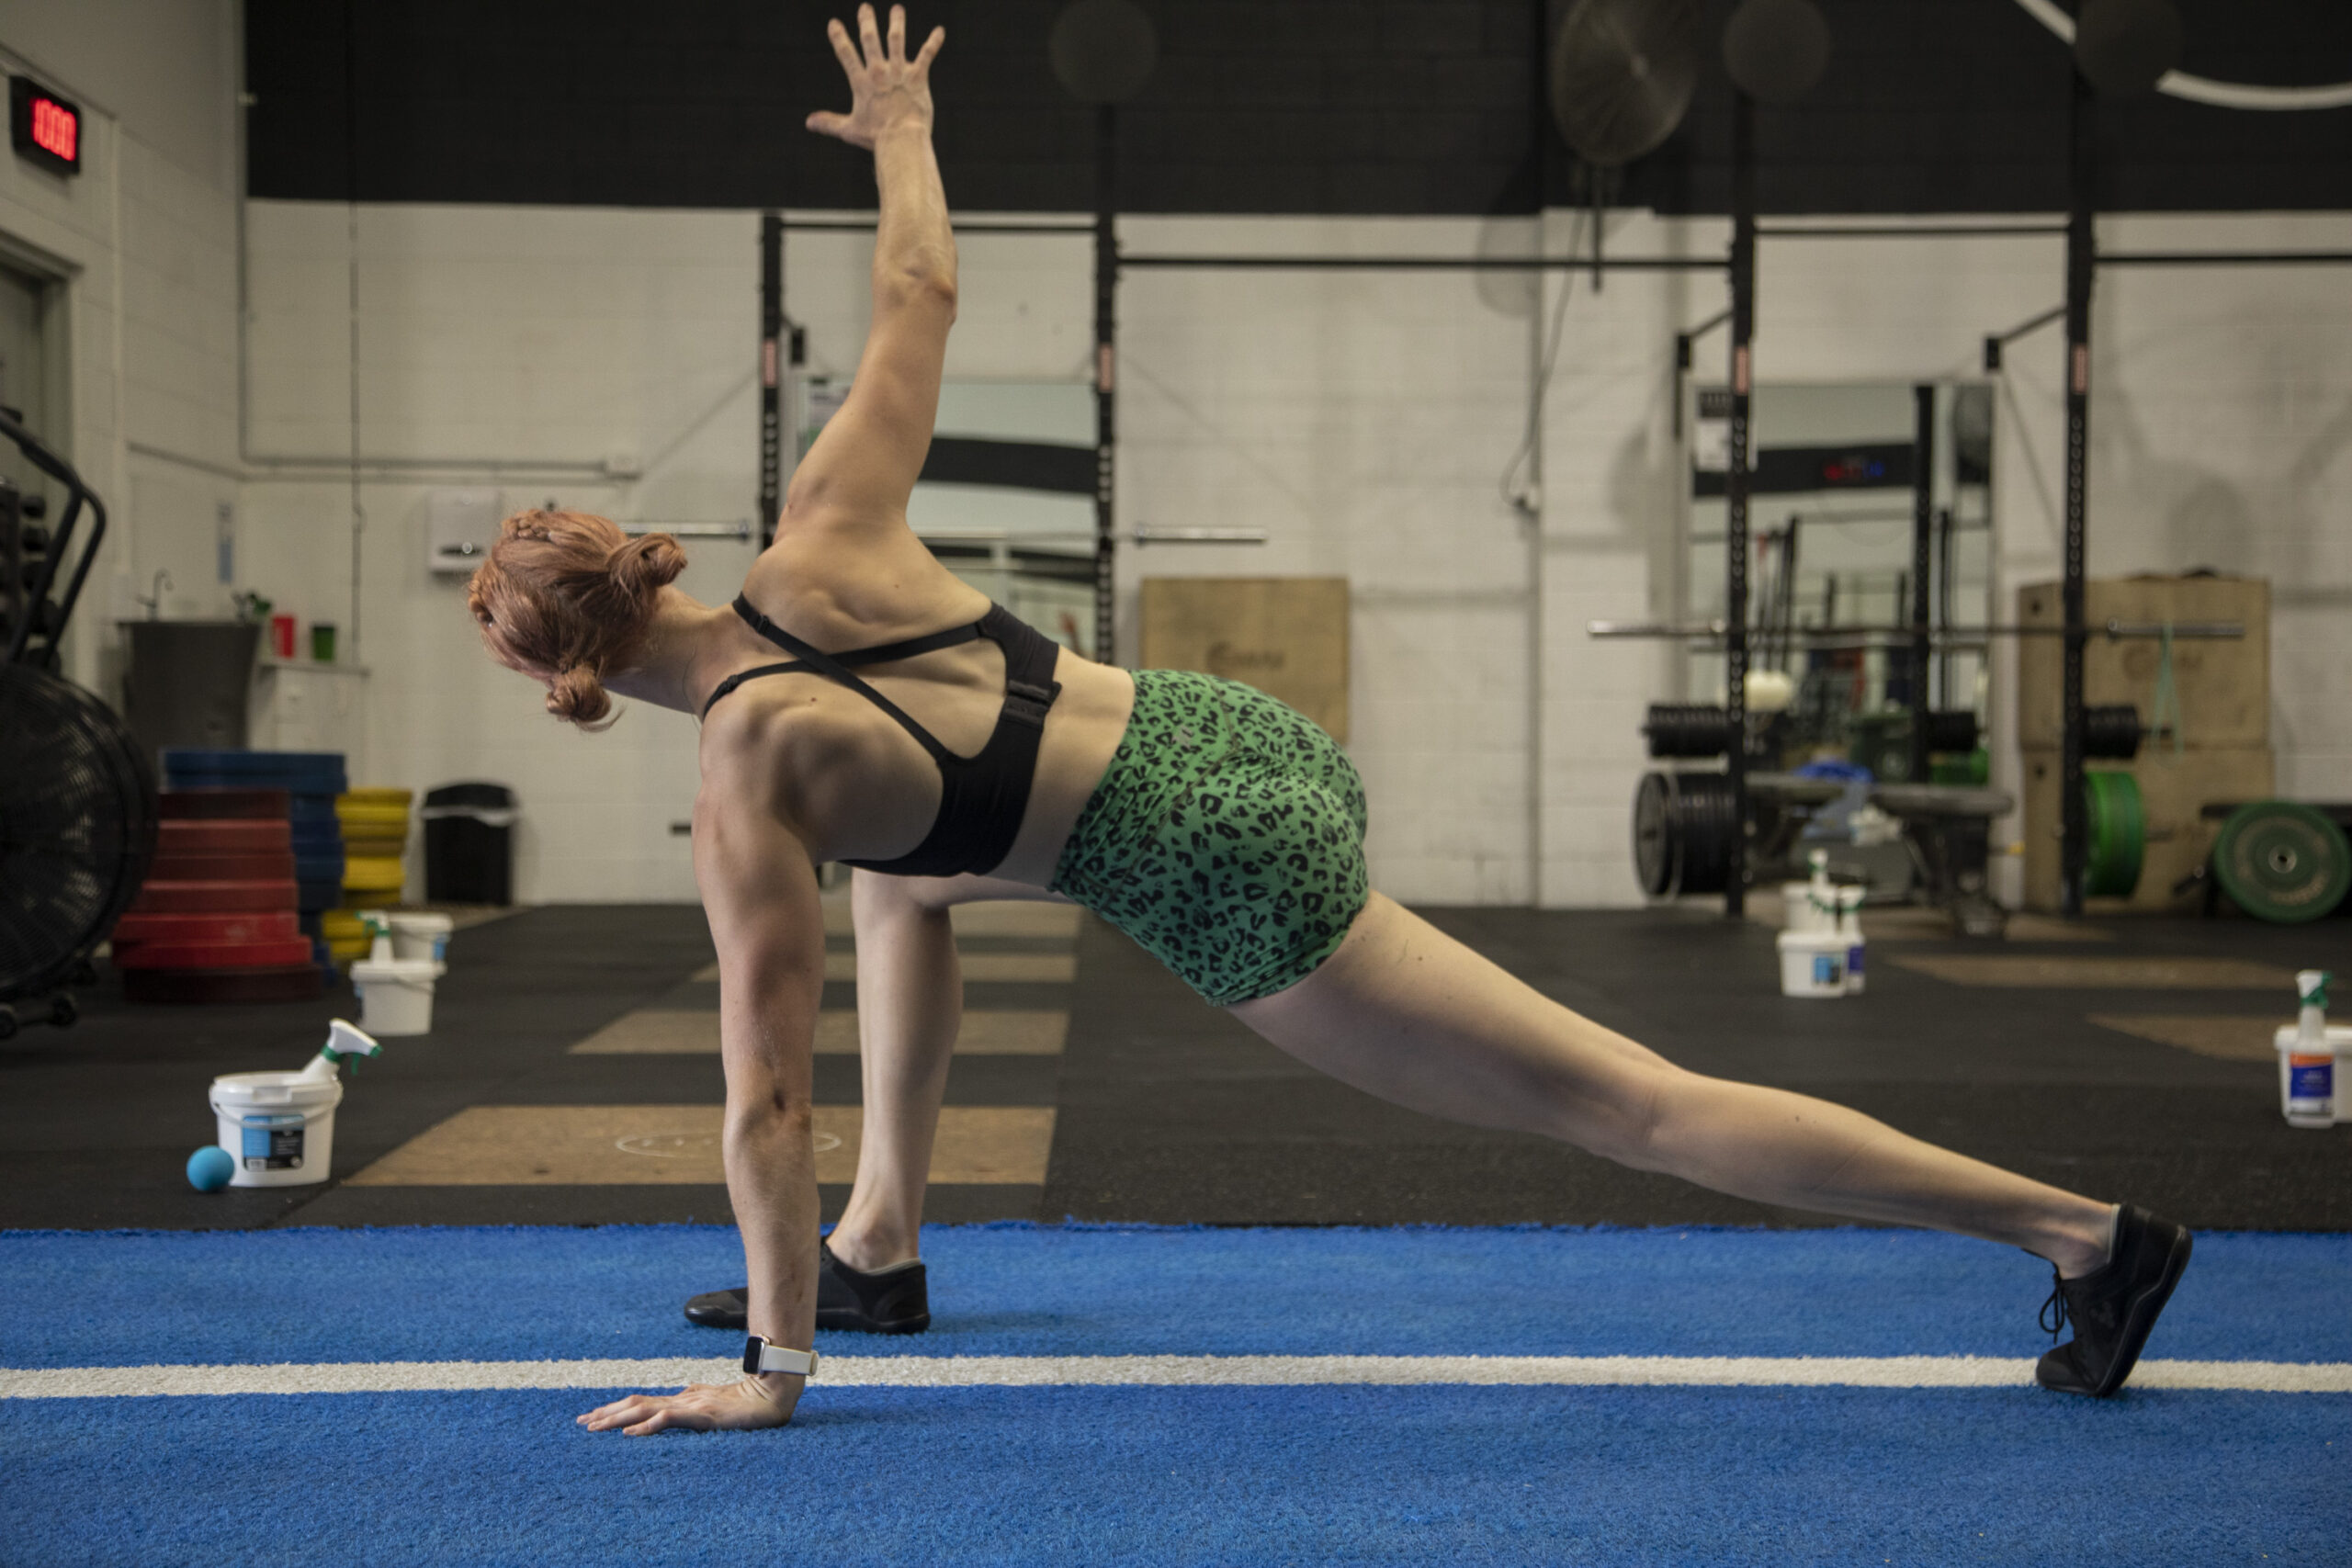
Assessment of Hip Stability – Single Leg Squat
To perform this assessment, you’ll need:
-
A friend or camera to look at range of motion
-
Flat gym bench
Step 1: Stand on one leg in front of a bench and have a friend watch or use video it to assess.
Step 2: With the non-weight bearing leg out in front, lower yourself to the bench to perform a single leg squat. Tap (or sit if unable to tap) the bench with your butt and immediately press through your planted leg to stand.
Step 3: Repeat to failure. Perform on both legs.
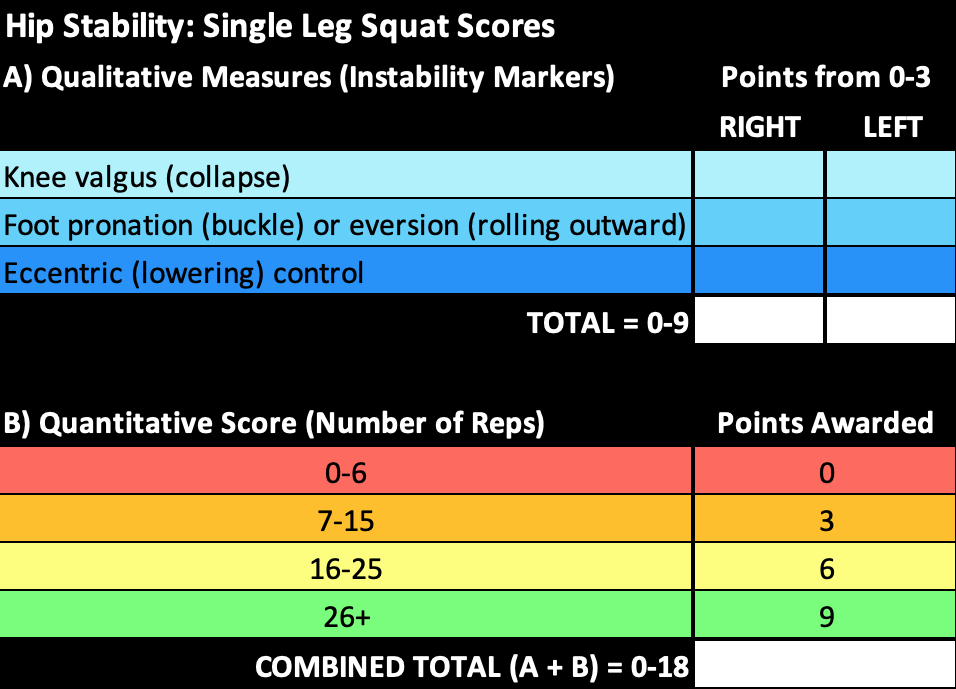
Subjective Measures: Quality of reps.
To make it easier to replicate, rate each measure using this 3-point scale.
0 = poor, couldn’t perform without major issues
1 = average, a lot of difficulty
2 = good, minor issues
3 = perfect, no correction needed
Look for the following…
-
Knee valgus (collapse/buckle inwards)
-
Ankle inversion/eversion (foot roll)
-
Eccentric control (control on descent)
Objective Measure: Number of reps performed each leg.
Measurement Interpretation
Calculate Quality of Reps (A) + Rep Quantity (B) to determine your score.
By looking into the areas of weakness from these tables, you should be provided with an indication as to whether or not hip stability is an issue for you. Remember the qualitative measures, while added as data points for ease on a zoomed out approach, should be assessed and addressed as individual components. Clumping this score into a single number allows an easy conclusion on global hip instability, although the why and how of the root cause will remain unclear. Therefore to truly assess the data, you must separate each measure to be able to confidently decide on the causative factors and thus, how you will go about corrections as they pertain to hip stability.
I’ll be the first to admit this is not a super solid measurement system and one that is also not directly based on research. Unfortunately, to the best of my knowledge, that’s the case with most things related to stability so we must blend science with what we, as clinical educators, know works. If you choose to assess people using the above tables, please keep in mind it should be a guide – backed up and based on over 5 years of clinical hands on experience and personal upskilling – but is not to be taken as gospel.
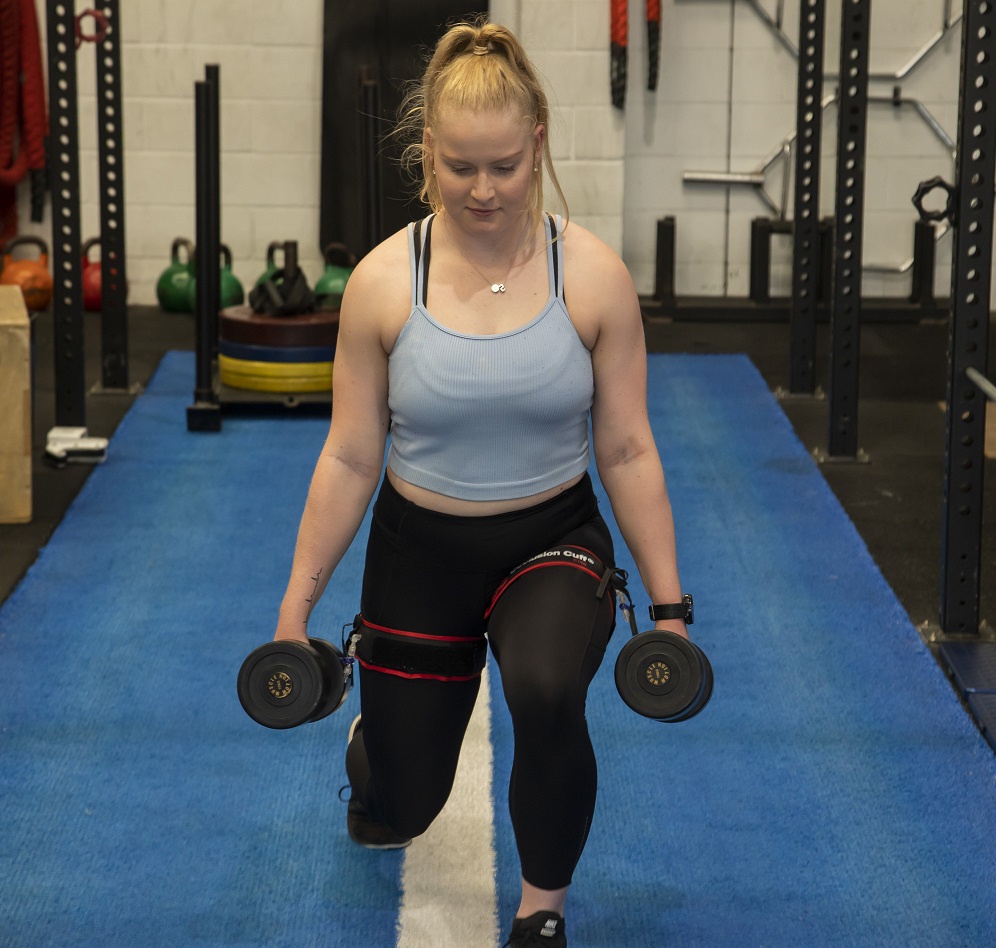
More solid foundations and measurements lie within strength movements. Try using single leg squats as a marker but not an end goal. To follow up, testing of a back squat, deadlift or the likes based on a percentage of 1RM testing (1RM, 3RM, 6RM etc) would be my go to. As mentioned above, the stability will shine through at these higher percentages and be a much better performance indicator, dictating how the hip actually holds up under load.
What Now?
Now that you’ve assessed thoracic mobility (from Part 1) and Hip Stability here, you should be able to determine whether either of these areas needs work or whether you need to assess elsewhere (if so, stay tuned for part 3)!
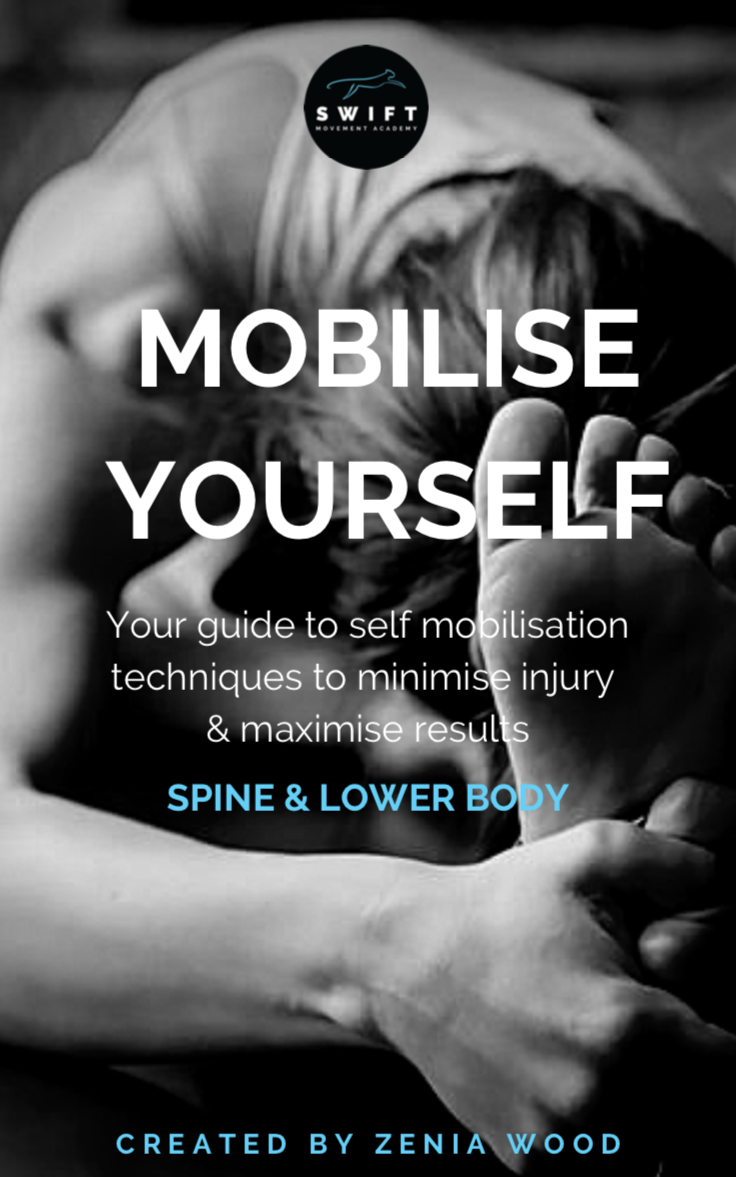
Alternatively, you can also grab a copy of my Mobility Guide HERE. While today just touched the surface, this step-by-step guide takes you through a much more detailed version around the WHY, HOW and WHAT to do for mobility when it comes to the entire spine and lower body and is an invaluable resource!
As with all of my content, if you found this resource useful I would love you to share it with a friend who could also benefit from it. As always, these blogs are created for free in the hopes that by spreading the word I can help demystify some pretty confusing areas when it comes to the human body through education and empowerment. Quality information can be hard to find and I can’t reach as many people as I’d like to without your help.
Until next time in Part 3…
Zenia Wood
Managing Director of Swift Movement Academy.
x