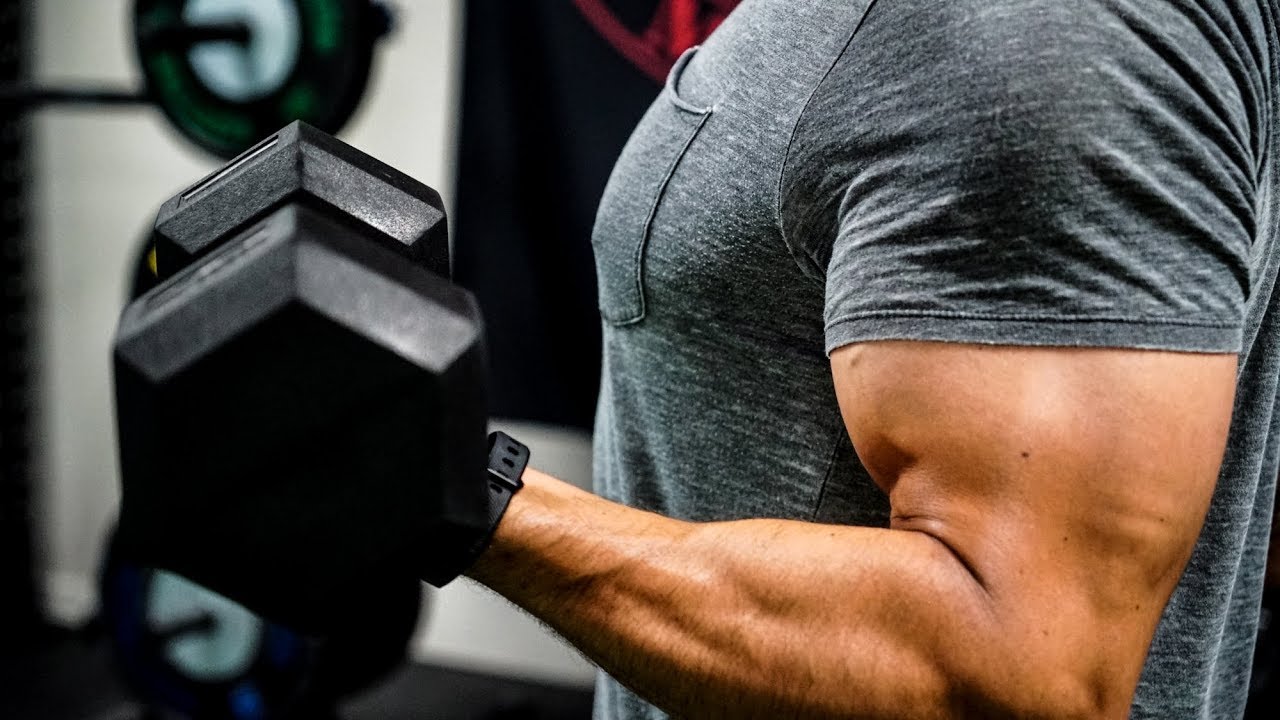


No one ever stepped foot into a gym to be the same. Period. Whether you’re wanting to increase muscle mass, strength or aerobic performance, decrease fat mass or simply slow the ageing process, we are all at the gym to improve.
The only issue is, if we aren’t increasing the weight we lift, are we actually improving? How can we know for sure?
We know that progress needs to be measured. Adding weight to the bar is easy. You lift 2.5kg more than last week and you’ve improved. No problem there. So what happens when the weights stop going up? What can you do to measure progress when you’ve hit a plateau?
When this inevitably happens (because adding 2.5kg each week forever isn’t achievable), we need to look elsewhere to continue to progress without trying to add more weight (and beating our heads against the wall in the process).
Sometimes our bodies need a break from load and more often than not, we haven’t utilised all of the resources available to us to continue to progress. So here they are.
The 6 Ways You Should Be Measuring Your Progress
1. Volume (Load x Number of Reps)
When we talk volume, we aren’t just talking reps x load in a single session, but the total number of reps over the week or month.
Here’s an example:
Say you can squat 100kg for 3 x 10 and you squat once a week. Your total weekly load for squats is:
3 sets x 10 reps x 100kg = 3000kg
How can you progress the volume?
You could…
a) Increase the number of reps
Unless you are at absolute failure on your 10th rep every set then surely you could do one more rep. By adding just one rep affects your total volume by 300kg. See below:
3 sets x 11 reps x 100 kg = 3300kg
b) Increase the number of sets
Similarly to increasing reps, adding an additional set is a really easy way to increase your volume. Even if you only get 8 reps on your last set, you’ve accumulated an extra 800kg in this instance:
(3 sets x 10 reps x 100 kg) + (1 set x 8 reps x 100 kg) = 3800kg
c) Increase the frequency
Say you squatted 2 x per week. Even if you did 80kg for 3×10, which is definitely doable if you can squat 3×10 at 100kg. Heck you could probably do 100kg twice a week if you can do it once a week, but for the sake of this example, let’s stick with 80kg. At 2 squat sessions per week with 3×10 at 80kg your total weekly volume is:
2 session x 3 sets x 10 reps x 80 kg = 4800kg
*Note that all of the above options for someone who is currently squatting 3×10 at 100kg are very achievable.
Now to understand how this accumulation impacts you over time, let’s compare our initial example to the options we have created and look at the volume accrued after one month.
Initial example: 3×10 @ 100kg x 4 weeks = 12 000kg
a) Increase the number of reps: 3300 kg x 4 weeks = 13 200kg
b) Increase the number of sets: 3800 kg x 4 weeks = 15 200kg
c) Increase the frequency: 4800 kg x 4 weeks = 19 200kg
While scenario c) is obviously superior for total load, not all of us have the option to add training days to our programming. For this reason, your volume progression will need to be tailored to your time available for the gym. Regardless, adding volume will inevitably be a solid measure of progress.
2. Time Under Tension (TUT)
How long does each rep take you? If you’ve never really paid attention to your duration each rep, now is the time to start! Say you’re currently just busting out reps like it’s going out of fashion. Your tempo for a squat would look something like this:
1 second to get down to the bottom, 1 second to get back up, straight into the next rep. Sound familiar?
We would write that tempo like so: 1010
1 second eccentric (lowering)
0 seconds pause at the bottom
1 second concentric (rising up)
0 seconds rest between reps
*Explained in order of appearance
This means each rep takes a grand total of… 2 seconds. In our 3×10 example, your total TUT is 60s for squats that day.
So how should you increase your duration per set?
Here are 2 examples:
a) An introduction to tempo
Tempo of 2121 = 6 seconds per rep
6 seconds x 3 sets x 10 reps = 180 seconds TUT
You’ve therefore just tripled your TUT
b) Tempo for the advanced
Tempo of 3310 = 9 seconds per rep
9 seconds x 3 sets x 10 reps = 270 seconds TUT
While you need to take into consideration the fact that holding load between reps (standing up with the bar on your back) won’t create muscle damage or any real noteworthy adaptations that I’m aware of. You could argue it’s a loaded isometric, but the carry over for performance would be so small it would be statistically insignificant. Basically, if you’re trying to “hack” tempo, standing under a loaded bar without performing reps isn’t going to help your progress.
Also, weight may need to be reduced when TUT increases and this needs to be accounted for. It also needs to be individual for everyone as some people can tolerate tempo better than others, however it is a skill that can be learnt. To my knowledge, there isn’t a formula that will equate tempo with weight adjusted to have a net effect that is positive (meaning you can calculate whether or not the weight you have used with the tempo you have selected will equate to more load than if you had just increased your weight on the bar). Also, here we are discussing how to measure progress when you are UNABLE to add more load, so when load cannot increase, tempo can and should be used.
Despite all of these difficult to measure variables, TUT this is still definitely a progression variable worth looking into.
TUT is helpful for multiple reasons such as:
a) Getting through sticking points
b) Feeling more comfortable under load
c) Challenging the muscles through duration over load
Note: One thing I strongly recommend when first starting to play around with tempo is using a metronome. You can find an app easy enough and it will tick every second to ensure you don’t cheat your tempo speed. Trust me – you’ll want to cheat and it’s easier to do than you think. One second under a loaded bar feels like a microwave minute when you’re starving (aka forever).
3. Range of Motion (ROM)
As with limbo, this is a case of “how long can you go”?
Are you that guy who does a half rep, calls it a PR, instantly brags to everyone about it and subsequently posts it on social media because “if you didn’t post it, did it really happen?”. Surely not, but it’s likely you’ve seen someone who does.
Depth is a tricky one, especially when it comes to squats. When adding depth to your squats, keep in mind the golden rule of thumb that Dr Stuart McGill, the authority on lower back pain attests to which is that you should go “as low as you can before your pelvis tucks under into posterior pelvic tilt”. This is more commonly known as “Butt Wink” (and you can find more on Butt Wink, it’s causes and how to address it in an upcoming article which I’ll link here later).
For this reason, increasing depth may not be a variable currently available to you, so be smart about it and use it if you have an available range below your regular depth that keeps your pelvis in neutral.
The other progression point with ROM is mobility. If you can only tolerate lengthening your hamstrings in a Romanian Deadlift (RDL) to your knees, increasing this range (while maintaining integrity in all other muscles and joints within the body) is progress. It represents extra distance under load which has been shown throughout the research to improve lean muscle development AND strength, so use it!
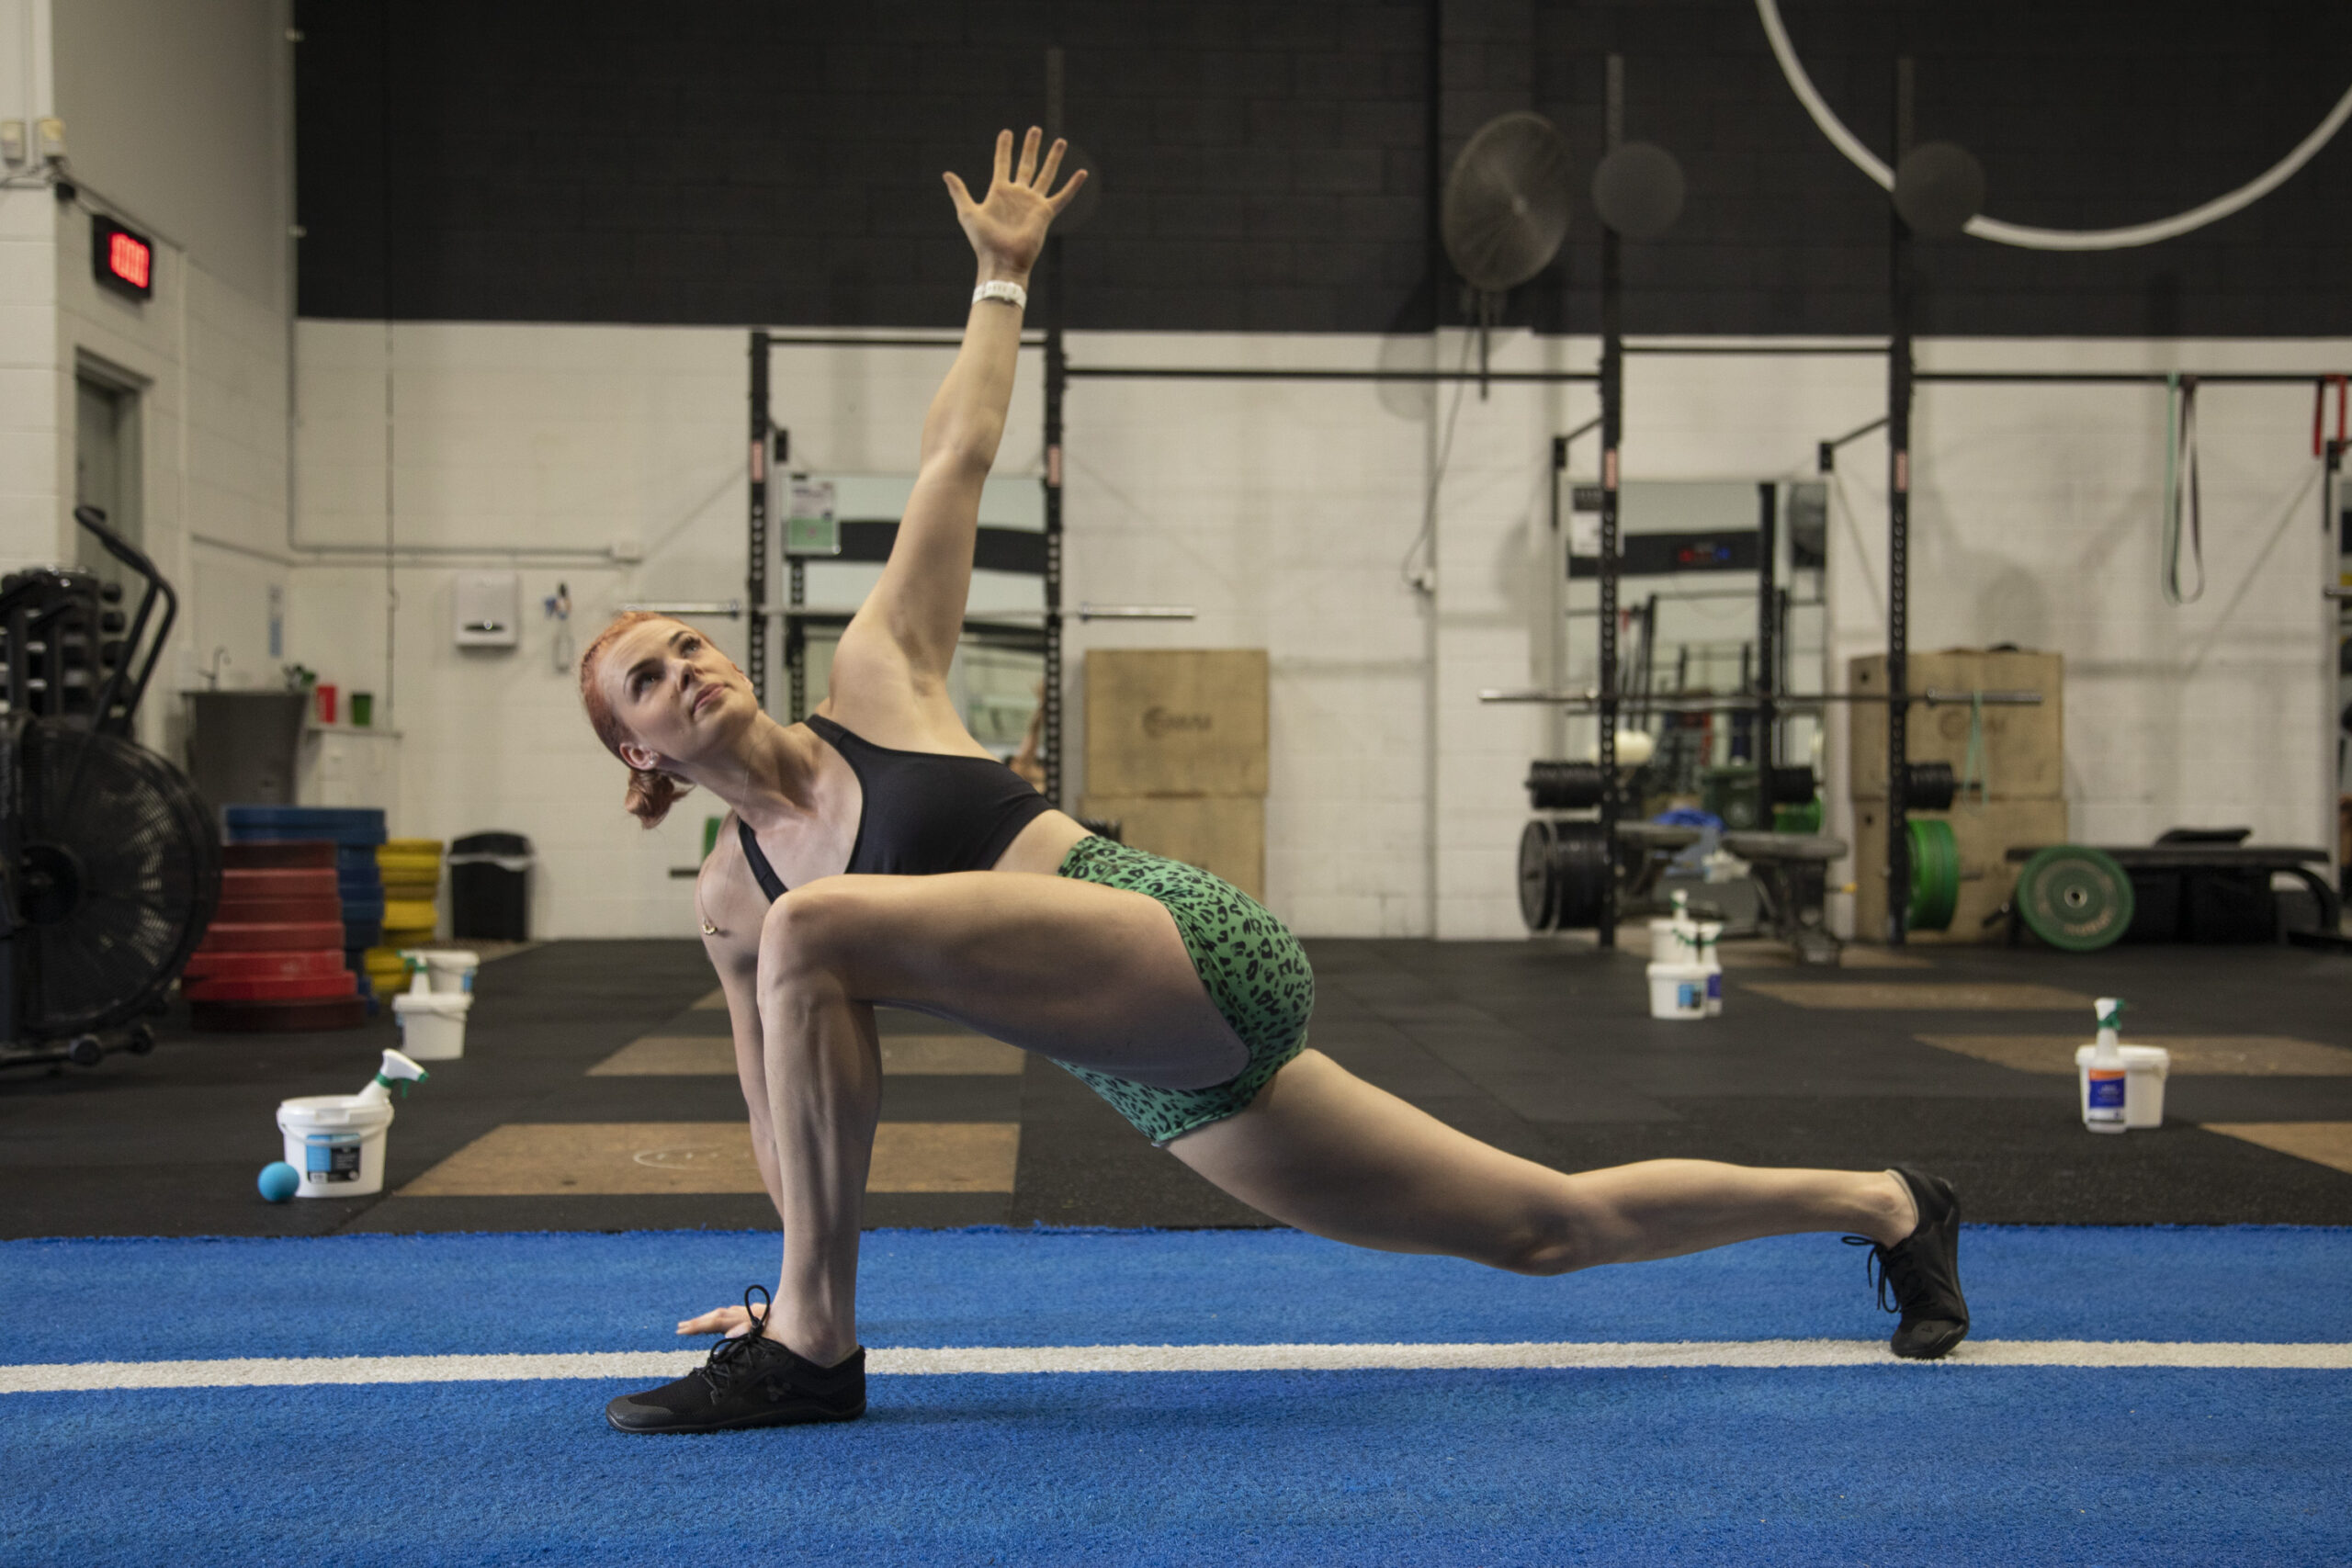
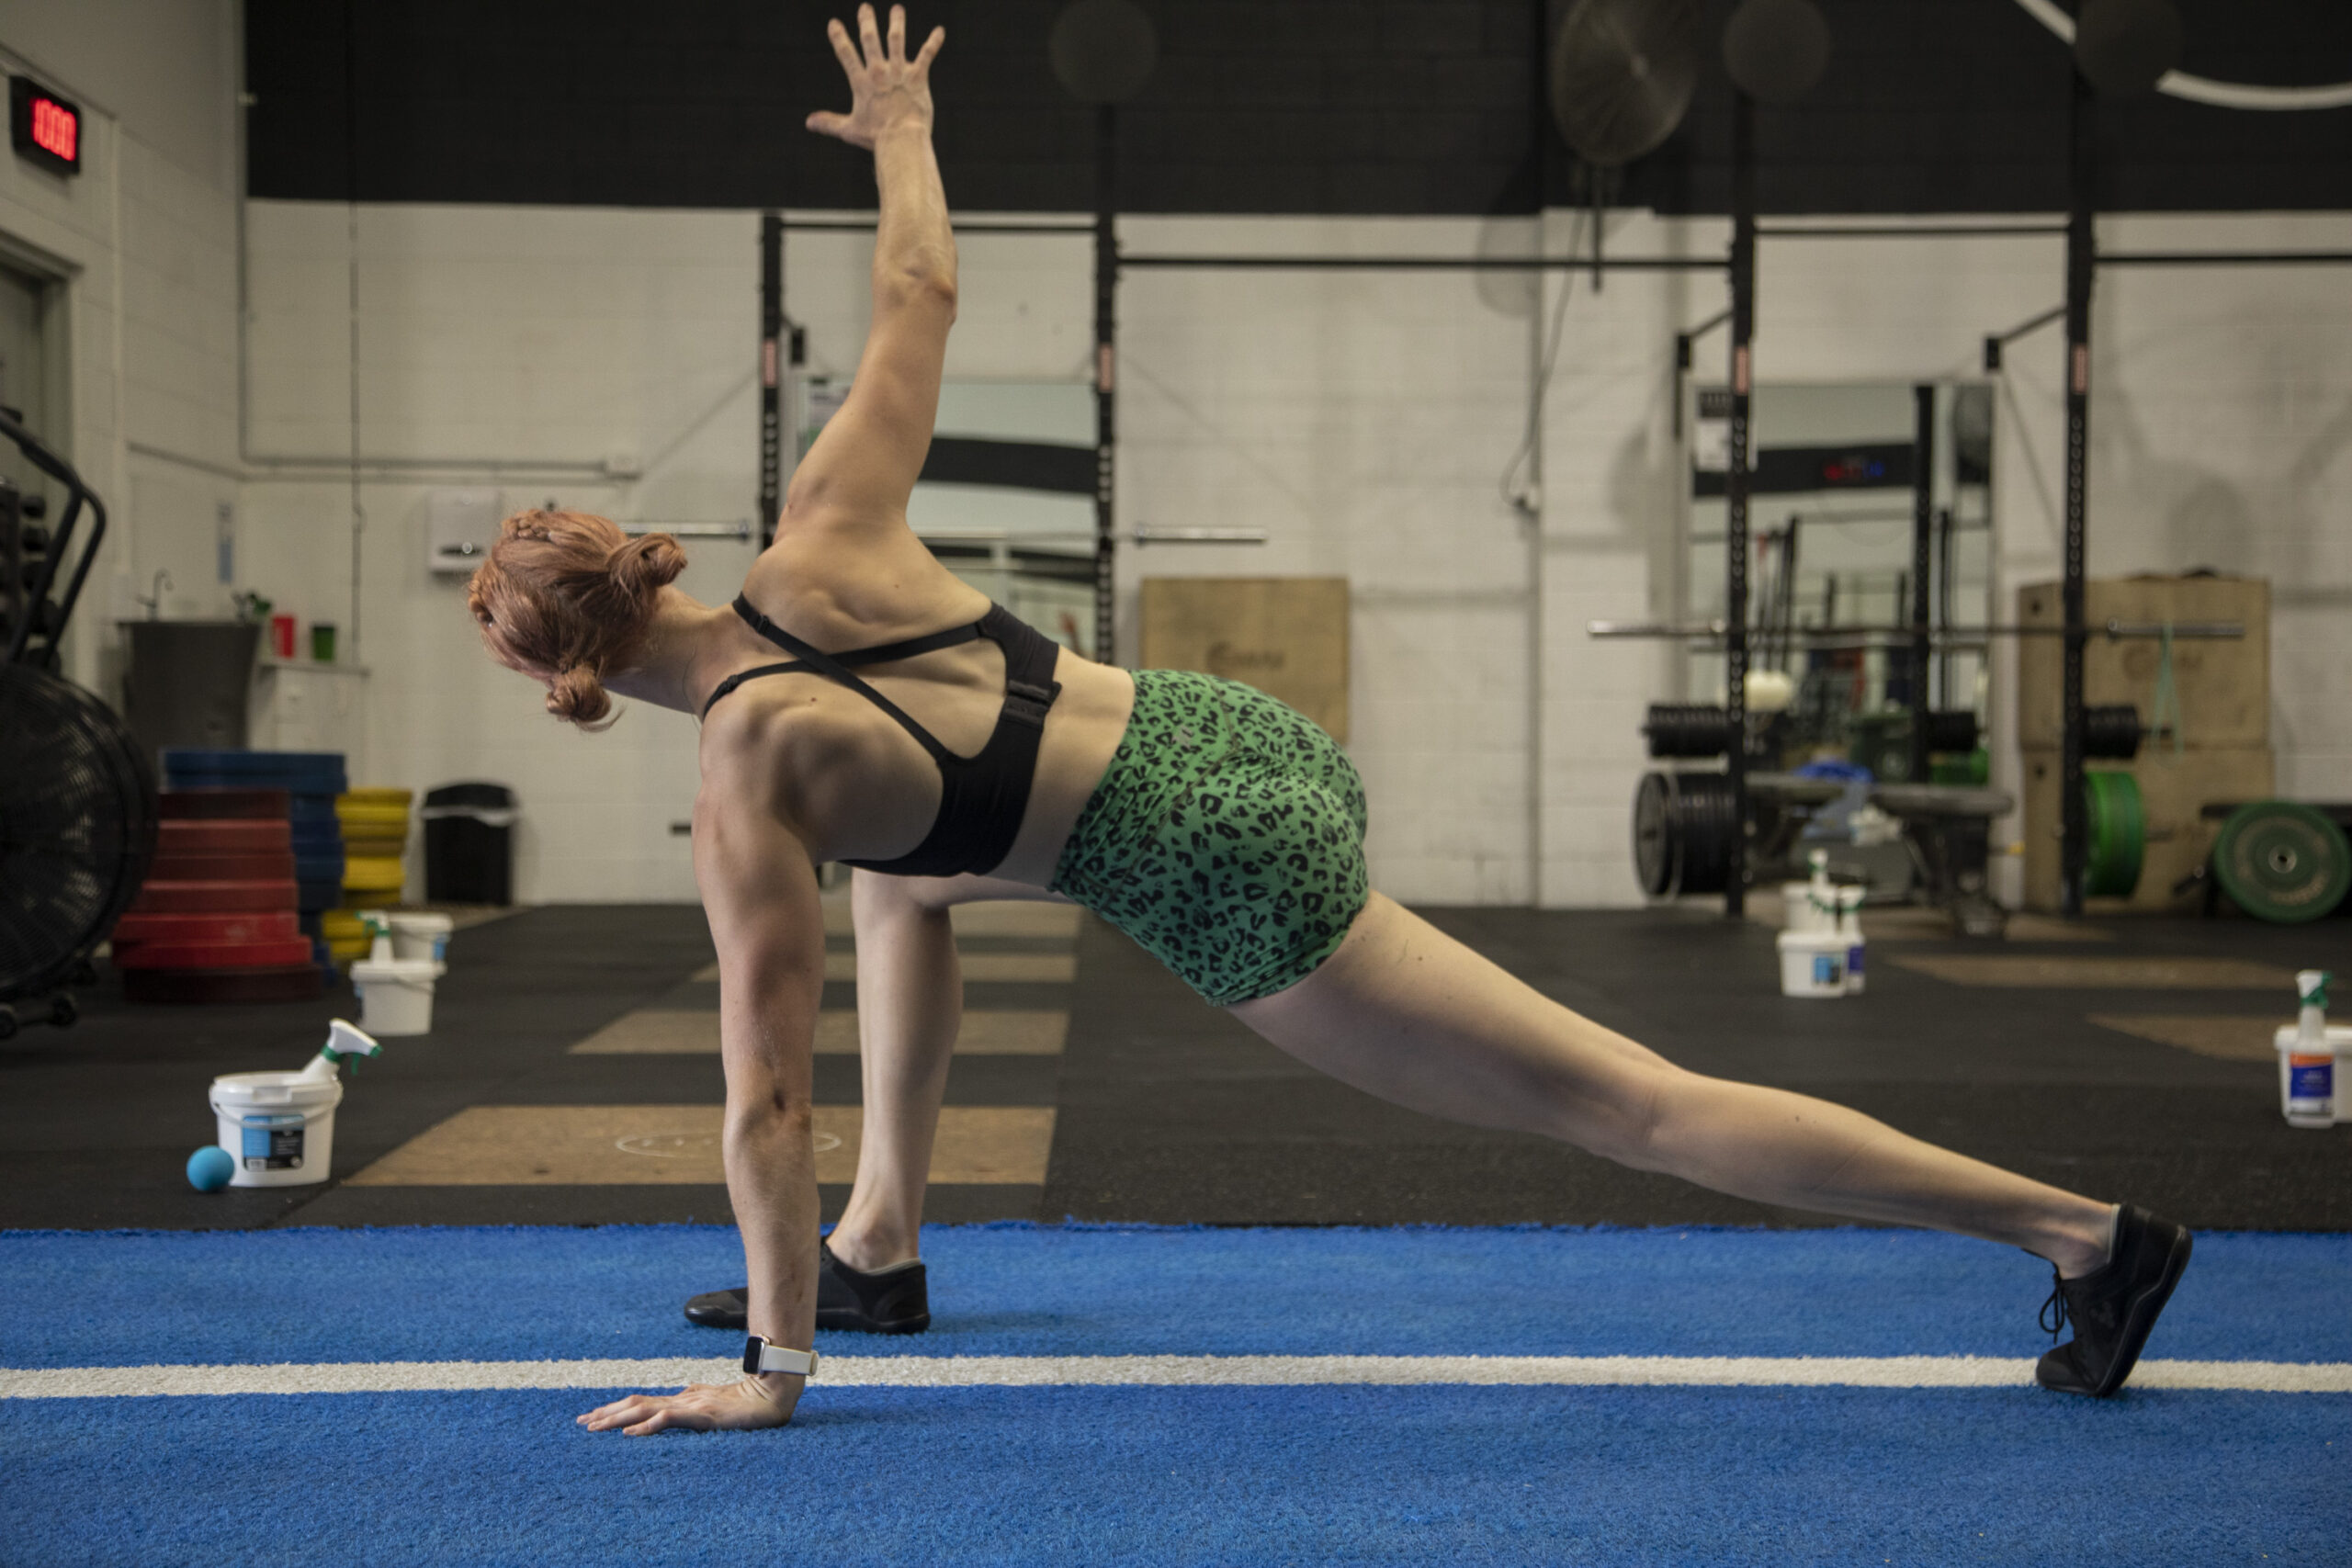
4. Stability
While I’m not recommending weighted squats on swiss balls (because we all know that’s the definition of stupidity), stability is still a great way to measure progress when used with the appropriate exercises.
When you build a house, you don’t build it on sand. You first lay down a concrete slab (or some other solid platform – I’m clearly not a builder) because a concrete slab is more stable. It will withstand more pressure and retain its form when external forces are applied to it. Same goes for your body.
Take tricep dips when comparing a machine versus rings. If when you’re on the rings, you shake like a you’re having a fit, that’s a pretty good indication your stability could use some work. By training and challenging your stability on a more unstable base, you’re going to be working towards improvements.
Having control (read: stability) through your available ROM is also incredibly important and often an underrated measure of progress – especially if you’re hypermobile. It’s pretty useless to be able to press dumbbells over your head if, when you lockout at the top, you aren’t in control and the weights waver all over the place. Nearing the end of your ROM and at full lockout/extension is where we need stability most. It’s where your primary muscles (the prime movers for that exercise, so in the case of a dumbbell shoulder press, the middle deltoids) are nearing their weakest point and your stabilisers (rotator cuff muscles) need to kick in.
Still confused? Take the example of a car with shitty wheel alignment. It will likely still be able to drive down the highway at 110km/hr but…
a) It’ll need a service a lot sooner
b) There will be a lot more wear and tear on the car
c) You’re never going to hit your car’s max speed and even if you could, you’d have some serious issues to deal with immediately afterwards.
Your body responds in the same way. You may still be able to lift relatively heavy but when the time comes to increase weight, your stability is going to be your limiting factor. Address it early and avoid the consequences of a hefty service bill on your body.
When we talk about progress for stability, we know that the less you ‘leak energy’ (aka shaking, movement compensation patterns) the more you have progressed. Progression doesn’t have to always be measured numerically (although I’m sure you could measure your level of shakiness with some high-tech equipment). Don’t underestimate the power of videos as a simple and easy tool in this case.
If you aren’t stable first, how can you expect to be strong?
5. Movement Complexity
Sounds simple but how often do we implement it?
Are your deadlifts feeling easy but you’re struggling to increase weight? Try training deficits. You’ll need to drop the weight but when you transition back to regular deadlifts you will watch your weights go up and up! How about that pesky bench press plateau you’ve had forever? Try a unilateral bench press while the opposite oblique, rotator cuff and transverse abdominus (aka side abs, scapular stabilisers and deep abs) works to stabilise your trunk.
Combining loaded movements with stabilisation drills enhances movement difficulty and draws on the muscle function as opposed to just purely its action. When we talk function, we mean the role of a muscle. For example, the rectus abdominus (6-pack muscles) work to stabilise the trunk and avoid movement. However, their action (aka contraction) is to flex, like in a sit up.
While increasing the complexity of a movement we are in turn learning new motor skills, laying down new neurological pathways and developing the neuromuscular system – which requires us to not just focus on our external physique, but the internal workings of how our body performs.
Now these last 2 are more about pain and functional improvements. Still important, but more so for the injured among us (as well as trainers who work with injured clients).
6. Decrease in Pain
This one’s important for anyone who has ever suffered, or is currently suffering, through an injury or with pain. While adding load to an injury is a no go in most cases (although tendons love it – again more on that in an upcoming article), a decrease in pain is just as important when monitoring progress.
I find it helps to really understand your pain which is made easier to define when measuring it through a pain scale that is recorded at intervals throughout the day. These are just some of the options for pain monitoring in an example of knee pain:
From 0-10 (0 being no pain at all, 10 being the worst pain imaginable) how much pain are you in when…
a) You first wake up
b) You go to sleep
c) Throughout the night
d) Walking up stairs
e) Squatting/lunging
f) Standing/sitting for long periods
It’s a good idea to remember that pain usually follows a certain pattern. It may be worse in the afternoon after being on your feet all day or only when you squat above 60kg. Whatever your pain patterns are, knowing more about your body and measuring pain can be extremely helpful to ridding it for good.
7. Increase in Function
In the presence of pain, it’s sometimes hard to tell if you’re improving when pain remains unchanged, which is often is the case in early stage rehab. This can manifest as:
a) Performing more volume of a painful movement than you could previously tolerate
E.g. Increases in load, reps or frequency as mentioned above WITHOUT an increase in pain levels.
b) Longer duration of activities before pain presents itself
E.g. Prolonged standing/sitting or the ability to wall sit for a greater length of time are all good measures of progress through function.
c) An increase in pain free ROM
E.g. If lifting your arm to parallel was previously sore but now you can lift it ¾ of the way over your head your pain free ROM has increased. This is true even if the pain is still the same intensity when it reaches its new increased range.
Pain often recovers slower than function increases. Literally all pain we experience is perceived by the brain. Things such as your general level of optimism, perception of how the pain is/should be as well as previous interactions with similar experiences are all dictated by the brain. They have little to do with the actual physiological pain itself. This is why looking for functional improvements should be just as important, if not more important, that the level of pain itself. Pain markers keep pain front of mind and can mean you fixate on your perception of pain, instead of your functional capabilities. Be mindful of this when choosing to track pain, function or both.
In summary, the 7 methods of progress that are NOT increasing weights discussed here are:
-
Volume
-
Time Under Tension (TUT)
-
Range of Motion (ROM)
-
Stability
-
Movement Capacity
-
Decrease in Pain
-
Increase in Function
I realise this provides A LOT of information. Take you time with implementation. The “all at once” instagram style “let’s try all the fancy things but really get nowhere” isn’t going to cut it. Consistency and dedication to just one change for a period of at least 4 weeks will reap the rewards and gains (both in performance and/or aesthetics) you are chasing. No matter how boring it sounds, the truth will always prevail.
#MOVESWIFTLY